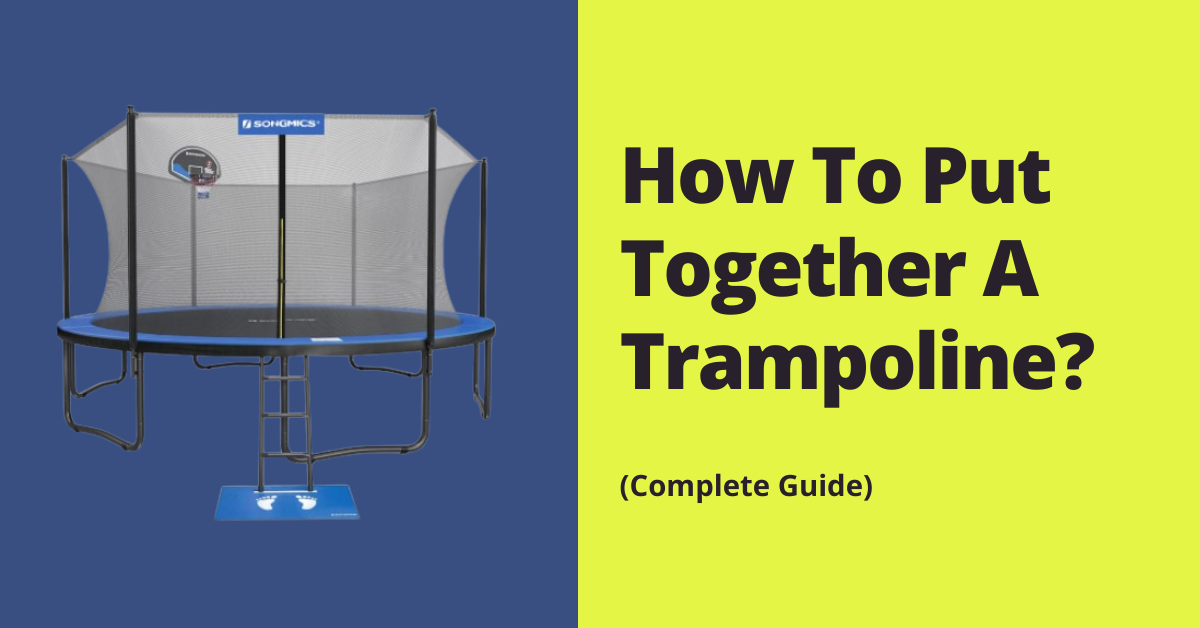
How To Put Together A Trampoline? Step-by-step Easy Guide
A trampoline is a piece of equipment composed of an outer edge and the jumping surface, which contains springs and fabric. It can be bought as a single unit or in separate parts to put together. In this article, we will explain how to put together a trampoline.
Trampolines give people of all ages fun and healthy exercise. They are also great for training athletes who must jump and spring in their sport, such as gymnasts and track and field athletes. Getting a trampoline will benefit your whole family because it can be used by all ages and abilities. One more thing that is important to consider is “How Much Weight Can A Trampoline Hold?“

Preparation For Putting Together A Trampoline
- Clear an appropriately sized area to assemble the trampoline.
- Line the ground with protective paddings, such as plywood or grass, in case of any accidents when putting together a trampoline.
- Layout all parts in separate piles for easy access during the process of putting together a trampoline.
- Ensure children are not near while putting together a trampoline.
- If buying new, ensure all parts are present. Missing parts can be replaced before starting on putting together a trampoline.

Tools Needed For Putting Together A Trampoline:
- A wrench or socket set
- Needle-nose pliers
- Phillips head screwdriver or flathead screwdriver
- Hammer
- Tape measure
Steps On How To Put Together A Trampoline
Here are the steps on how to put together a trampoline.
Put Together Trampoline Legs
The trampoline legs come in pairs and should be put together as such. Starting with one leg, place it on its side and connect the wheel connector to the wheel axle. Repeat this for the second wheel connector and wheel axle. Once you have both wheel connectors connected to each end of a wheel axle, use a wrench or socket set to tighten them in place. Slip the leg into the other leg and connect the two using a wrench or socket set.
Assembling Trampoline Net Frame
The net frame should be put together by connecting one side of each piece to an adjacent part until you have built your whole frame. Start with connecting one side of each piece. Once you have connected the first three pieces, put them into place and combine the remaining two sides to form your frame.
Putting together a Trampoline
Connect the legs
Now that your frame is put together, you can connect the legs. The legs are formed by three pieces of metal tubing with wheels on either end. Insert each leg into an adjacent leg and attach them with a wrench or socket set to keep them in place.
Put together the jumping mat
The next step in putting together a trampoline is connecting and attaching the jumping mat. Take one of your pieces of spring rod and lay it on its side so that it looks like an “L.” Take another piece and place it at a right angle to the first piece, forming a square. Connect the pieces using needle-nose pliers.
Continue this process until you have built your whole jumping mat. Once it is finished, attach the mat to the trampoline frame by laying it flat on its side and inserting each end of one piece into another piece, forming an “X” shape. Then use a wrench or socket set to tighten the parts together.
Attach trampoline enclosure netting
Once you have finished assembling the jumping mat, attach the enclosure by laying it flat on its side and attaching each end of one piece to another piece. Connect all sides of the enclosure in this way until you have entirely built your enclosure.

Put together the frame
After all of these trampoline assembly steps, you can put your trampoline together and set it up in its permanent spot. To do this, first lay it on its side and attach each leg to an adjacent leg with a wrench or socket set. Then lift the trampoline upright and attach the legs to the frame with a wrench or socket set.
Next, you need to put together the enclosure. Lay it on its side with all of the pieces facing down, ensuring no metal bars are exposed. Attach each piece of enclosure netting to another piece by laying one flat on its side and connecting the free ends to form an “X.” When you have finished, turn your trampoline to its upright position.
Finally, connect the enclosure netting to the trampoline frame by taking one piece of enclosure netting and attaching it to a leg with a wrench or socket set. Then take another piece of enclosure netting and attach it to an adjacent leg with a wrench or socket set. Repeat this process until you have attached the enclosure to all four legs of the trampoline.
Once you have finished attaching the enclosure, your trampoline should be put together and ready for use.
Safetying a Trampoline
For added safety, you should check your trampoline every month to ensure that all parts are secure and safe for use. You can do this by removing the jumping mat from the frame and checking each piece of metal tubing for any bends or warping. Ensure there is no damage to any part of your trampoline.
Also, ensure that the legs of the trampoline are locked in place securely by inspecting their function and appearance. Finally, check all enclosure netting, ensuring no tearing or damage before each use. If you notice anything wrong with your trampoline or any of its pieces, contact the manufacturer immediately to order a replacement part.
After use, fold your trampoline up with all pieces connected to store it in a safe place until the next use. This not only protects it from weather damage but also ensures you never lose any of its parts. When properly maintained and assembled correctly, your trampoline should give you many years of use without any safety concerns.
If you notice anything wrong with your trampoline or any of its parts, contact the manufacturer immediately to order a replacement part. If you hear any noise from the trampoline then it can be a fault in setting up the trampoline. You can stop trampoline noise easily by following the article.
Frequently Asked Questions
Conclusion
To ensure a safe jumping surface, regularly check for damage to the jumping mat and enclosure netting before each use. Ensure that all of your trampoline’s parts are secure and attached correctly by checking them regularly. If you notice anything wrong with your trampoline or its parts, contact the manufacturer immediately to order replacement parts.
In addition to regular maintenance, use the proper safety measures: stay off the trampoline with shoes and never allow more than one user on at a time. With these precautions in place, your trampoline can provide you with years of safe jumping fun. We hope that this article has helped you learn how to put together a trampoline and that your family has enjoyed it for many years. Thanks.
